Project Description
Electric Skateboard
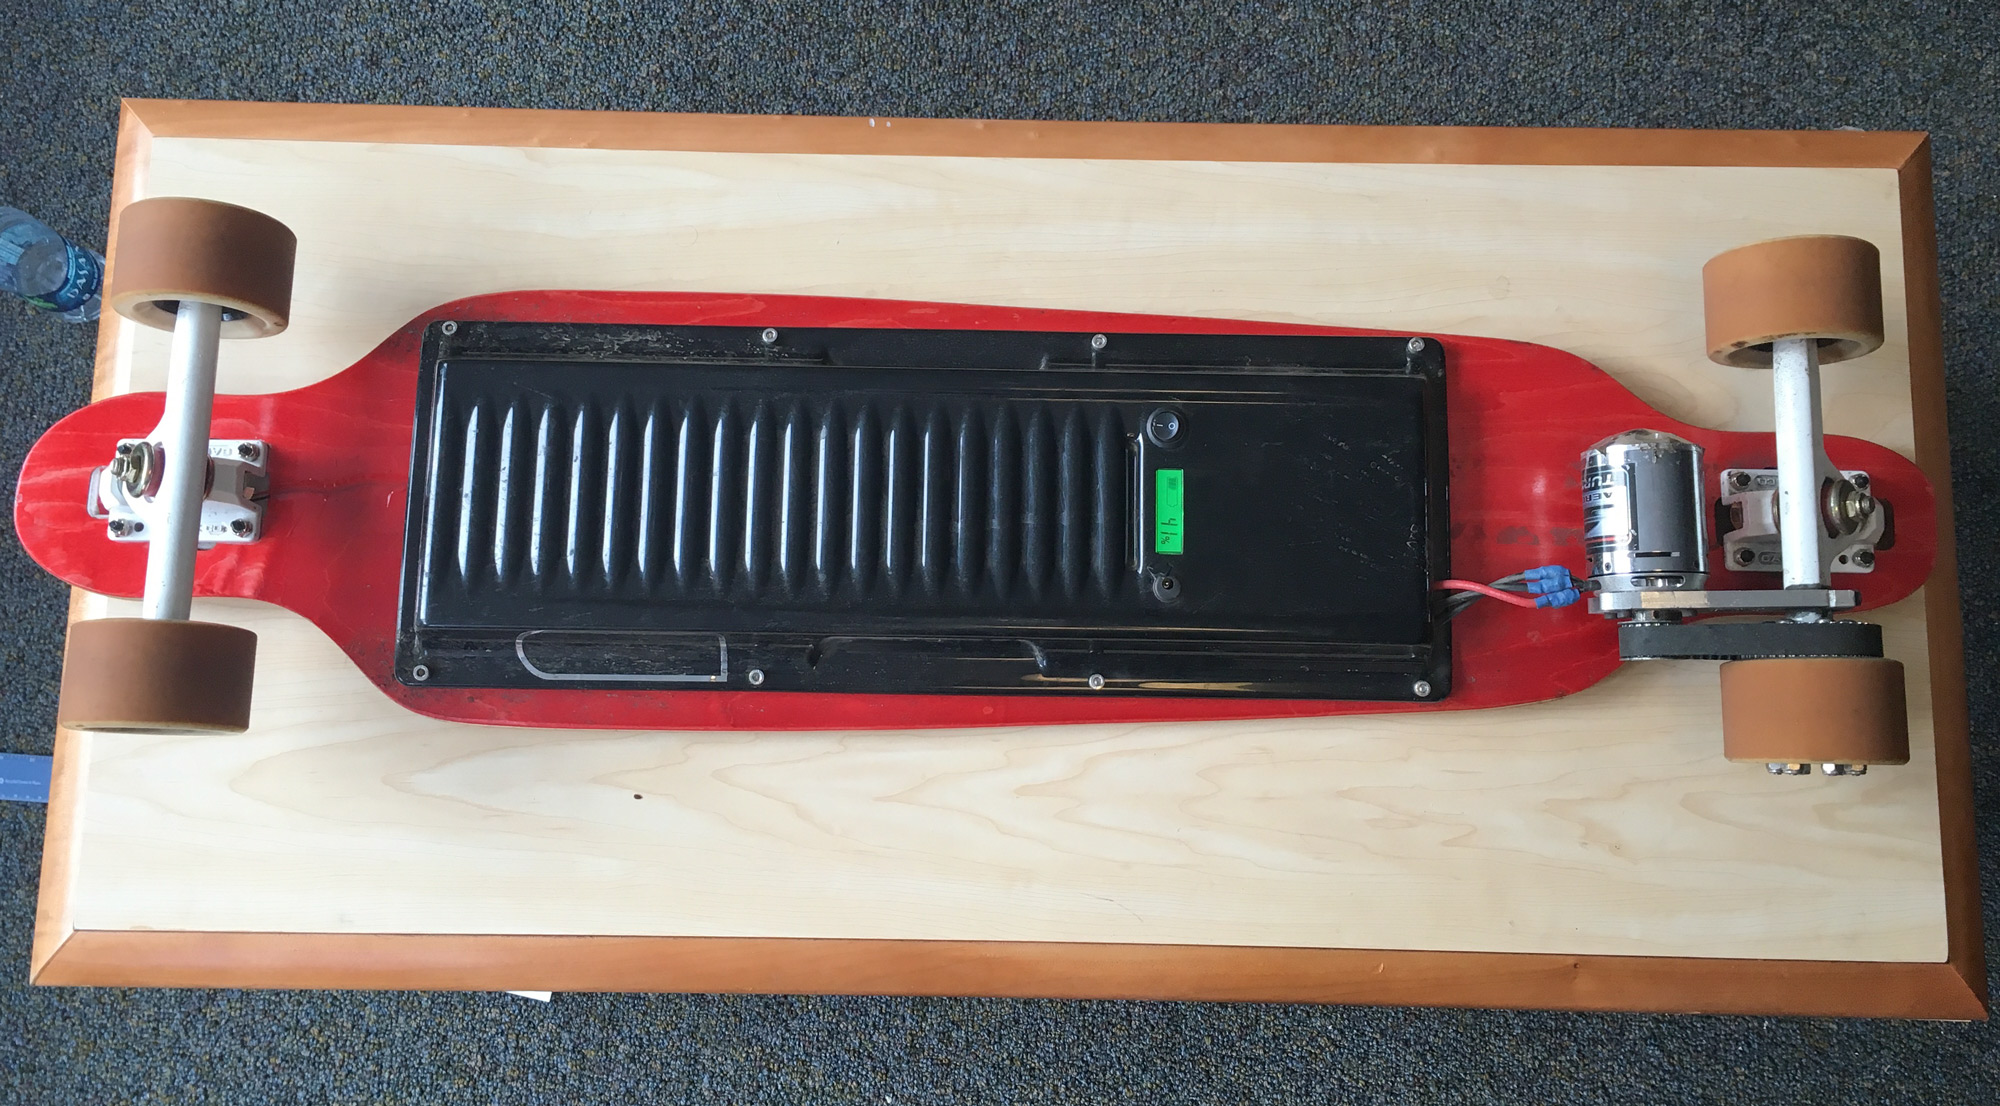
Bottom view showing battery, motor, and pulley assembly.
After getting into longboarding I always found myself wishing I could do more carving and less pushing. This lead to the realization that if I motorized my longboard I could carve all day and wouldn’t have to push. I did some research online and found Esk8.builders which is a forum dedicated to building electric longboards. This community had all the information I needed to do my build.

Table comparing performance specs of different battery chemistries.
I first needed to decide which battery chemistry I was going to use. I was deciding between between lithium manganese nickel (Li-on) or lithium iron phosphate (LifePo4). The Li-ions were cheaper and had higher power density, but the LifePo4 cells lasted double the amount of charge cycles and were chemically more stable.
I was leaning toward a LifePo4 setup so I did some shopping around and found that it would be almost $100 more than a Li-ion setup. I figured that I probably wouldn’t even be able to get my board to 300 charge cycles without something else breaking, so I might as well go with the cheaper, higher power density Li-ion cells. I didn’t have access to a spot welder to join the cell’s terminals together with nickel strips so bought a pre-assembled battery that even had the battery management system (bms) built in. This was the Space Cell by Enertion.
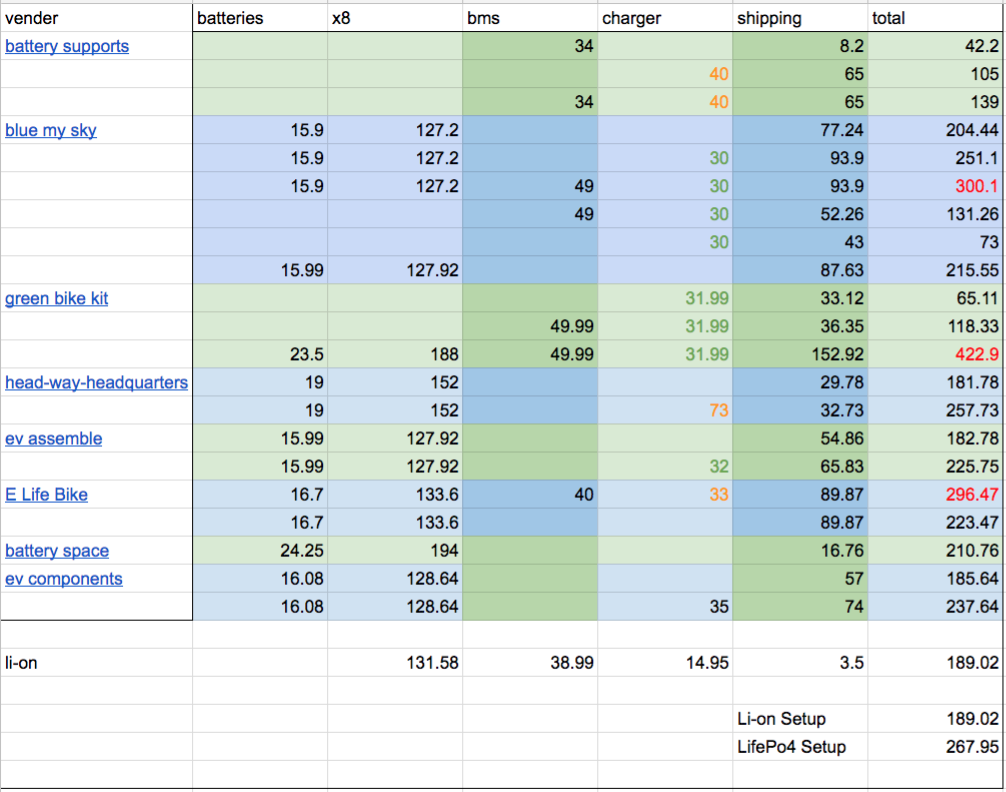
Cost matrix comparing battery setups and vendors.

VESC motor controller with Wii Nunchuck receiver.
It was an easy decision to use the VESC for my speed controller because it is the only speed controller on the market specifically made for electric longboards. It has the functionality to drive the motor with standard BLDC or more efficient field orientation control (FOC). It has regenerative breaking and cruise control functions. It can also take a standard 2.4GHz RC input or a Wii Nunchuck which was something I wanted to try. It’s also completely “open-hardware.”
While working at a machine shop over the summer I CNC’d my motor mount. It clamps to the skate truck with two bolts and has four motor mounting holes which are slotted to adjust belt tension.

First operation on motor mount. This was on a Haas VF2
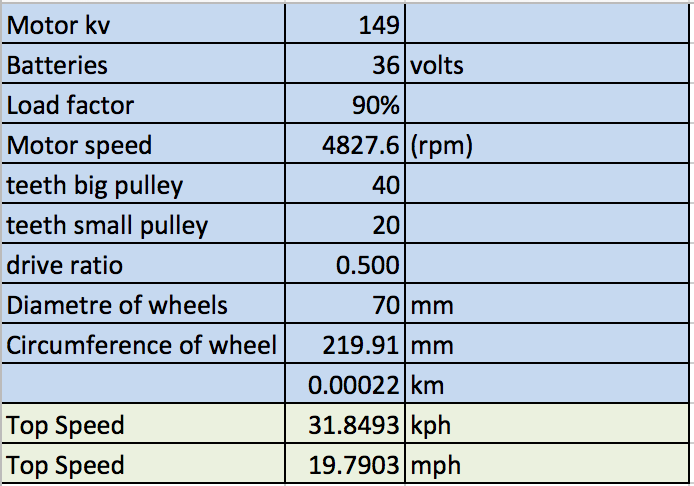
Drivetrain clacs.
I was aiming for a 20mph top speed so I did some calculations to choose my pulley teeth ratio. I was also constrained to using common teeth ratios and enough teeth on the small pulley that there would still be enough teeth engaged with the belt. This was made easy using a belt calculator.
I bought pre-made timing belt pulleys and CNC’d a bolt patten into the main one to bolt onto the skate wheel hub. I 3D printed an insert for the opposite side of the wheel to capture the bolts and nuts retaining the pulley.
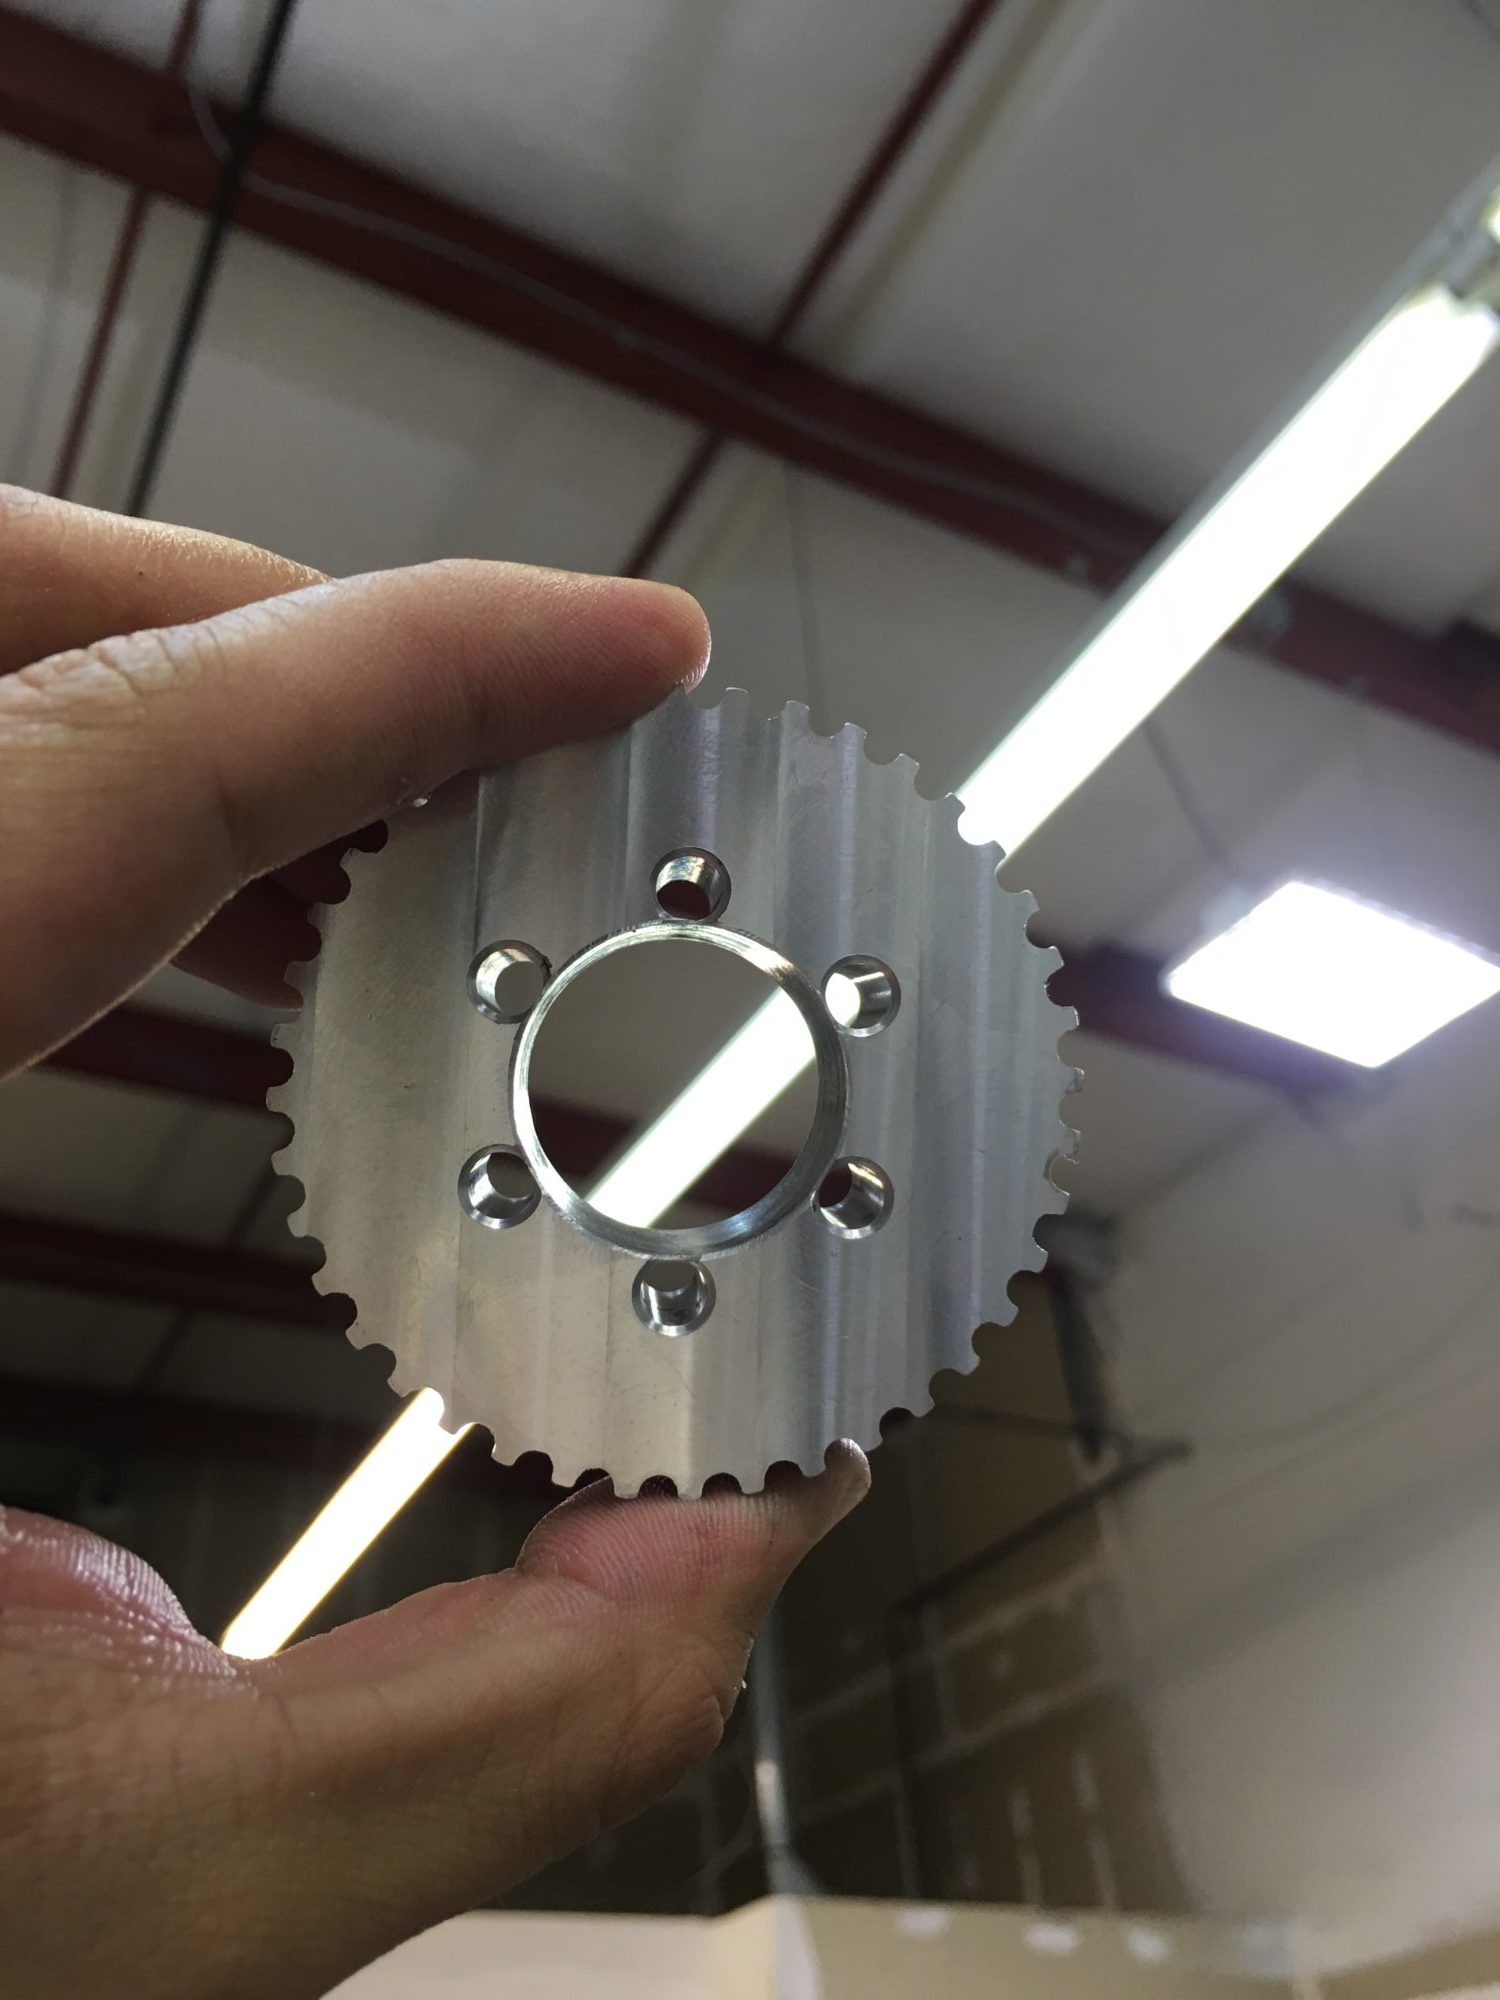
Finished wheel pulley with bolt pattern.
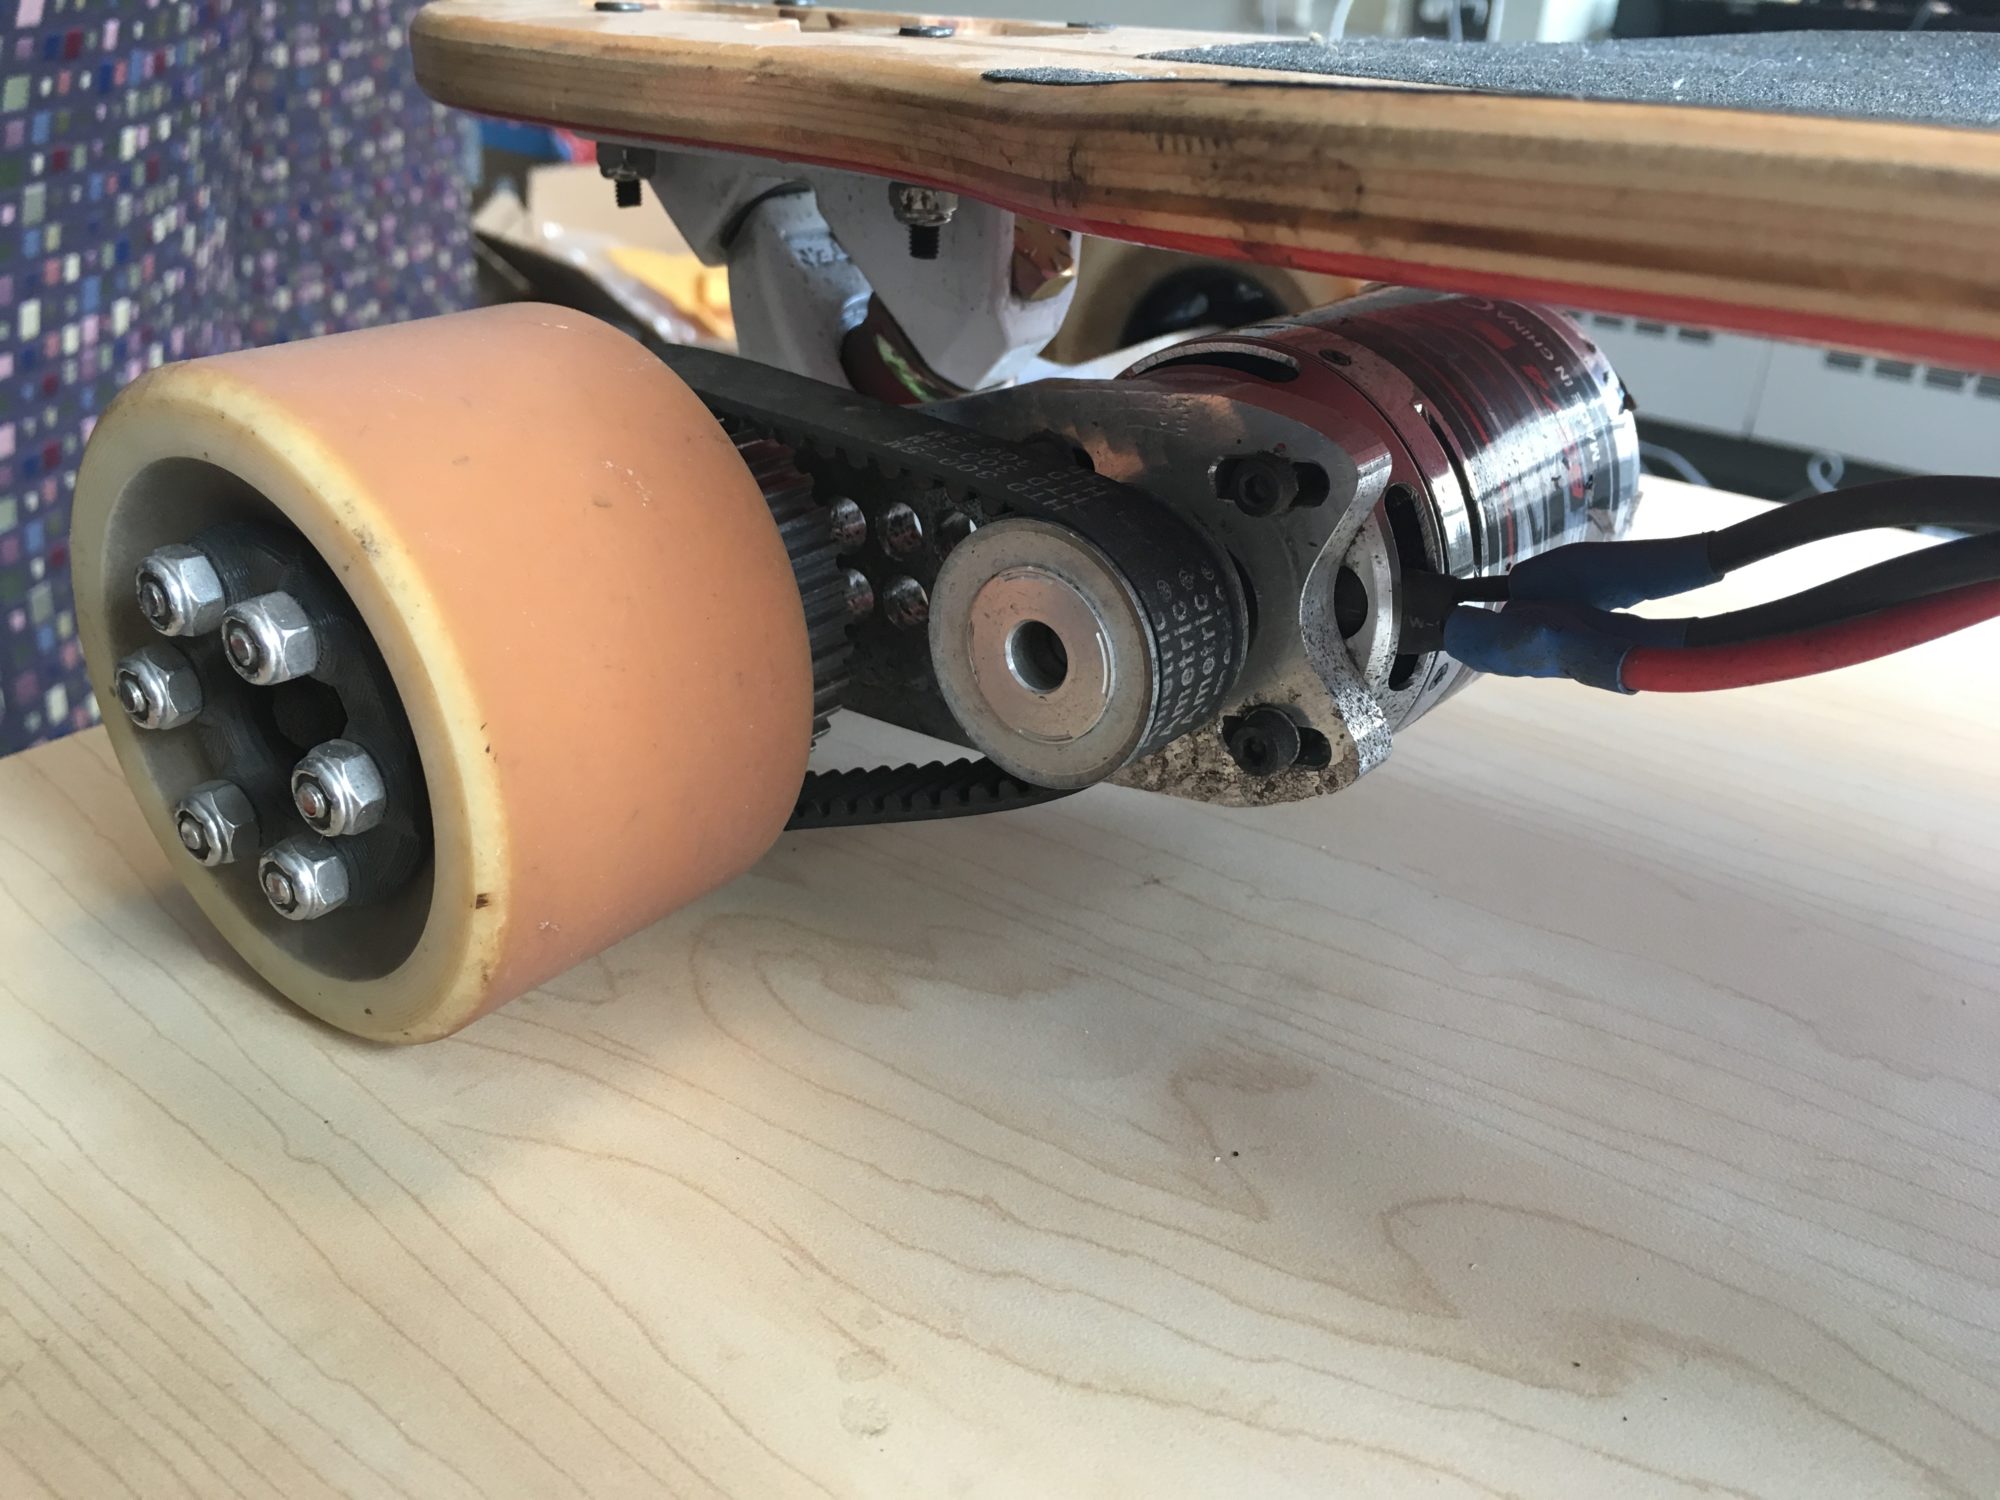
Motor mount and drivetrain assembled.
I put it all together and used a wireless Wii Nunchuck for the controller. The VESC allowed me to use the extra buttons on the Nunchuck for cruise control and throttle reversing. This worked really well until I got above about 10mph and the motor started putting out so much RF noise that the week bluetooth signal was lost and I no longer had control of the board. I tried to fix this with RF chokes on the motor wires and moving the receiver further forward but it still didn’t help.
To try to isolate the problem I used a wired Nunchuck. This actually worked well and the drop outs were fixed. The cable became annoying, however, so I decided to scrap the Nunchucks and use a standard 2.4GHz controller which meant I lost the cruise control functionality but the signal had much more power.
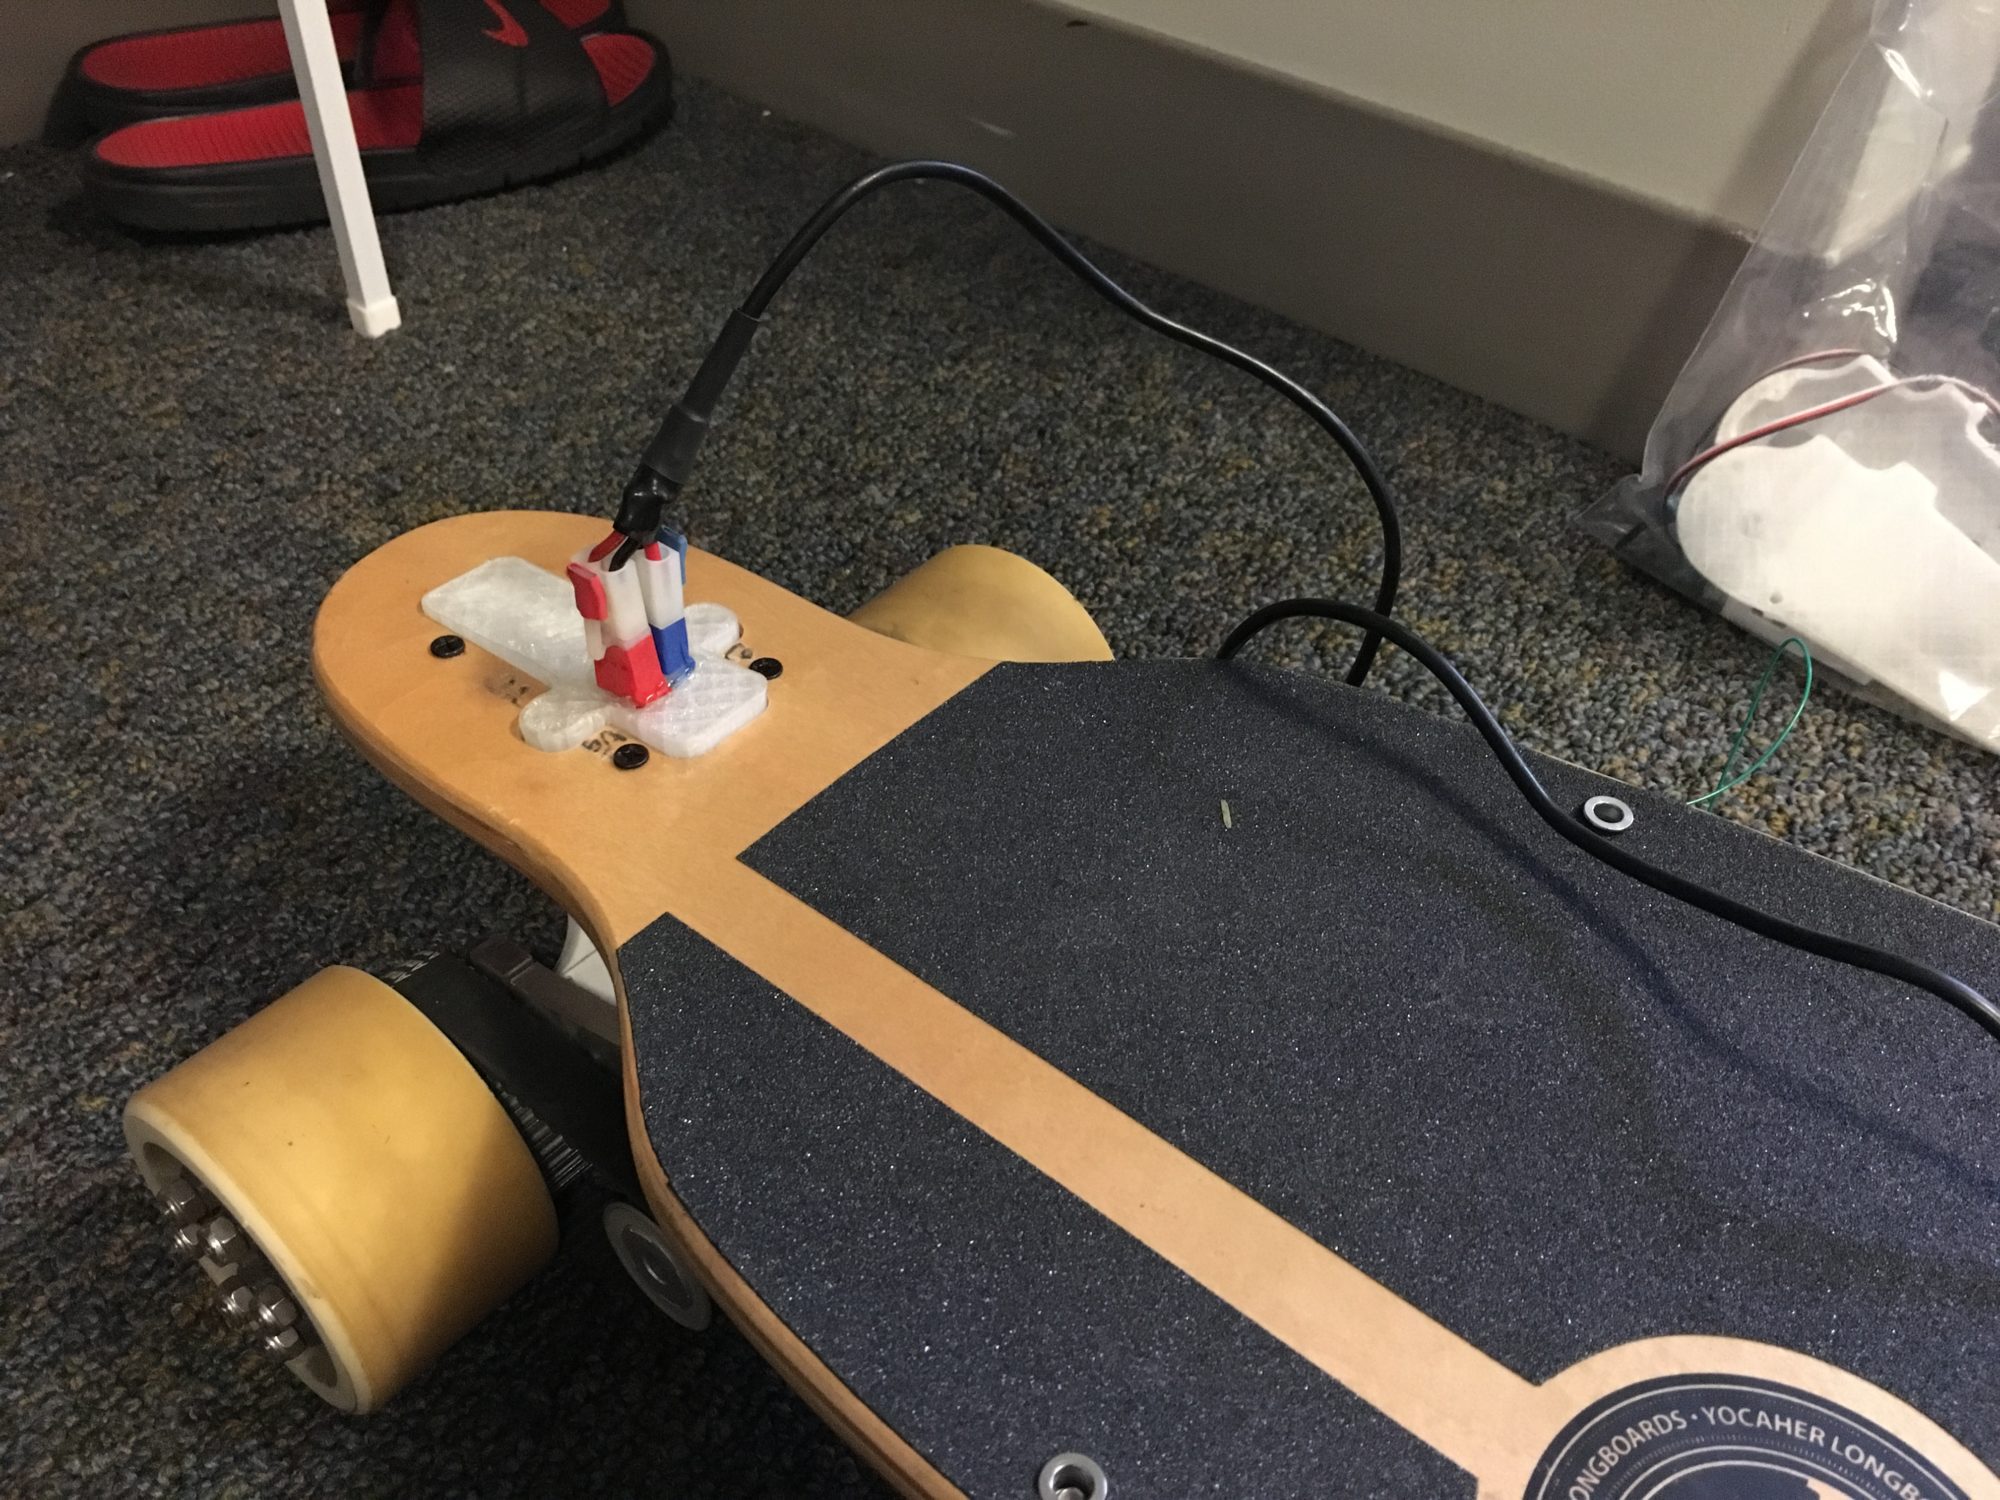
My solution for the wired Wii Nunchuck cable interface.
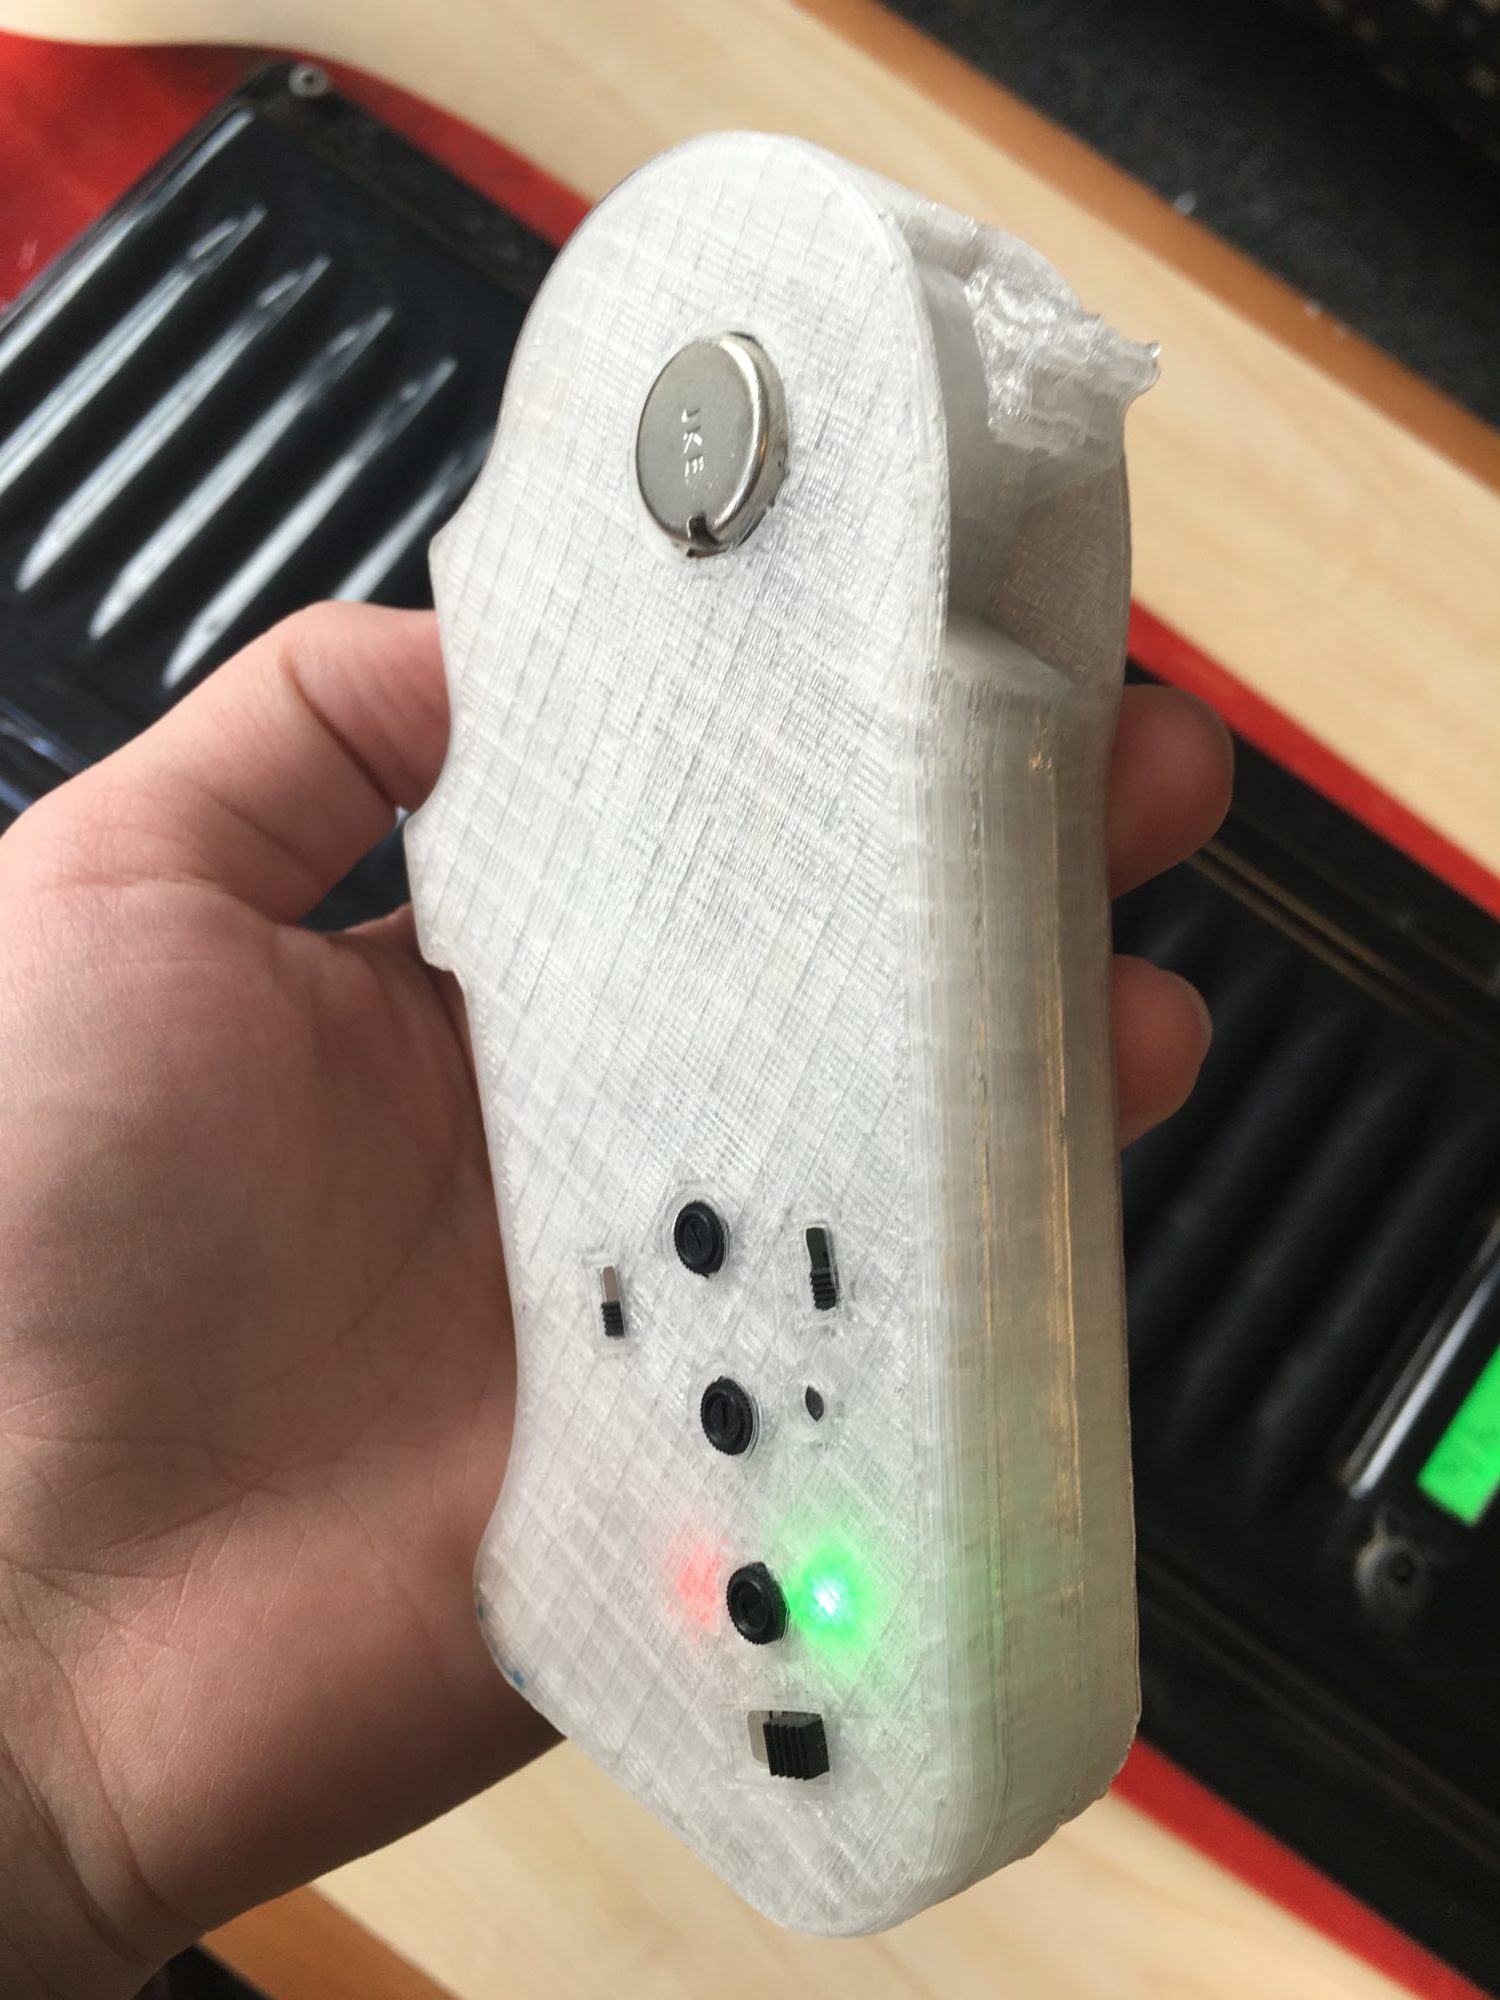
3D printed enclosure for a 2.4GHz remote.
My 3rd and final controller used a 3 channel RC car remote that I gutted down and stuffed into a 3D printed enclosure to all fit in my hand. This remote has been really solid and hasn’t given me any issue for the past year.
I also added a voltage monitor on the top part of the board so that I could keep an eye on the battery while I was riding. So far I’ve been riding this regularly for about a year and haven’t had any issues besides occasionally adjusting the belt tension.
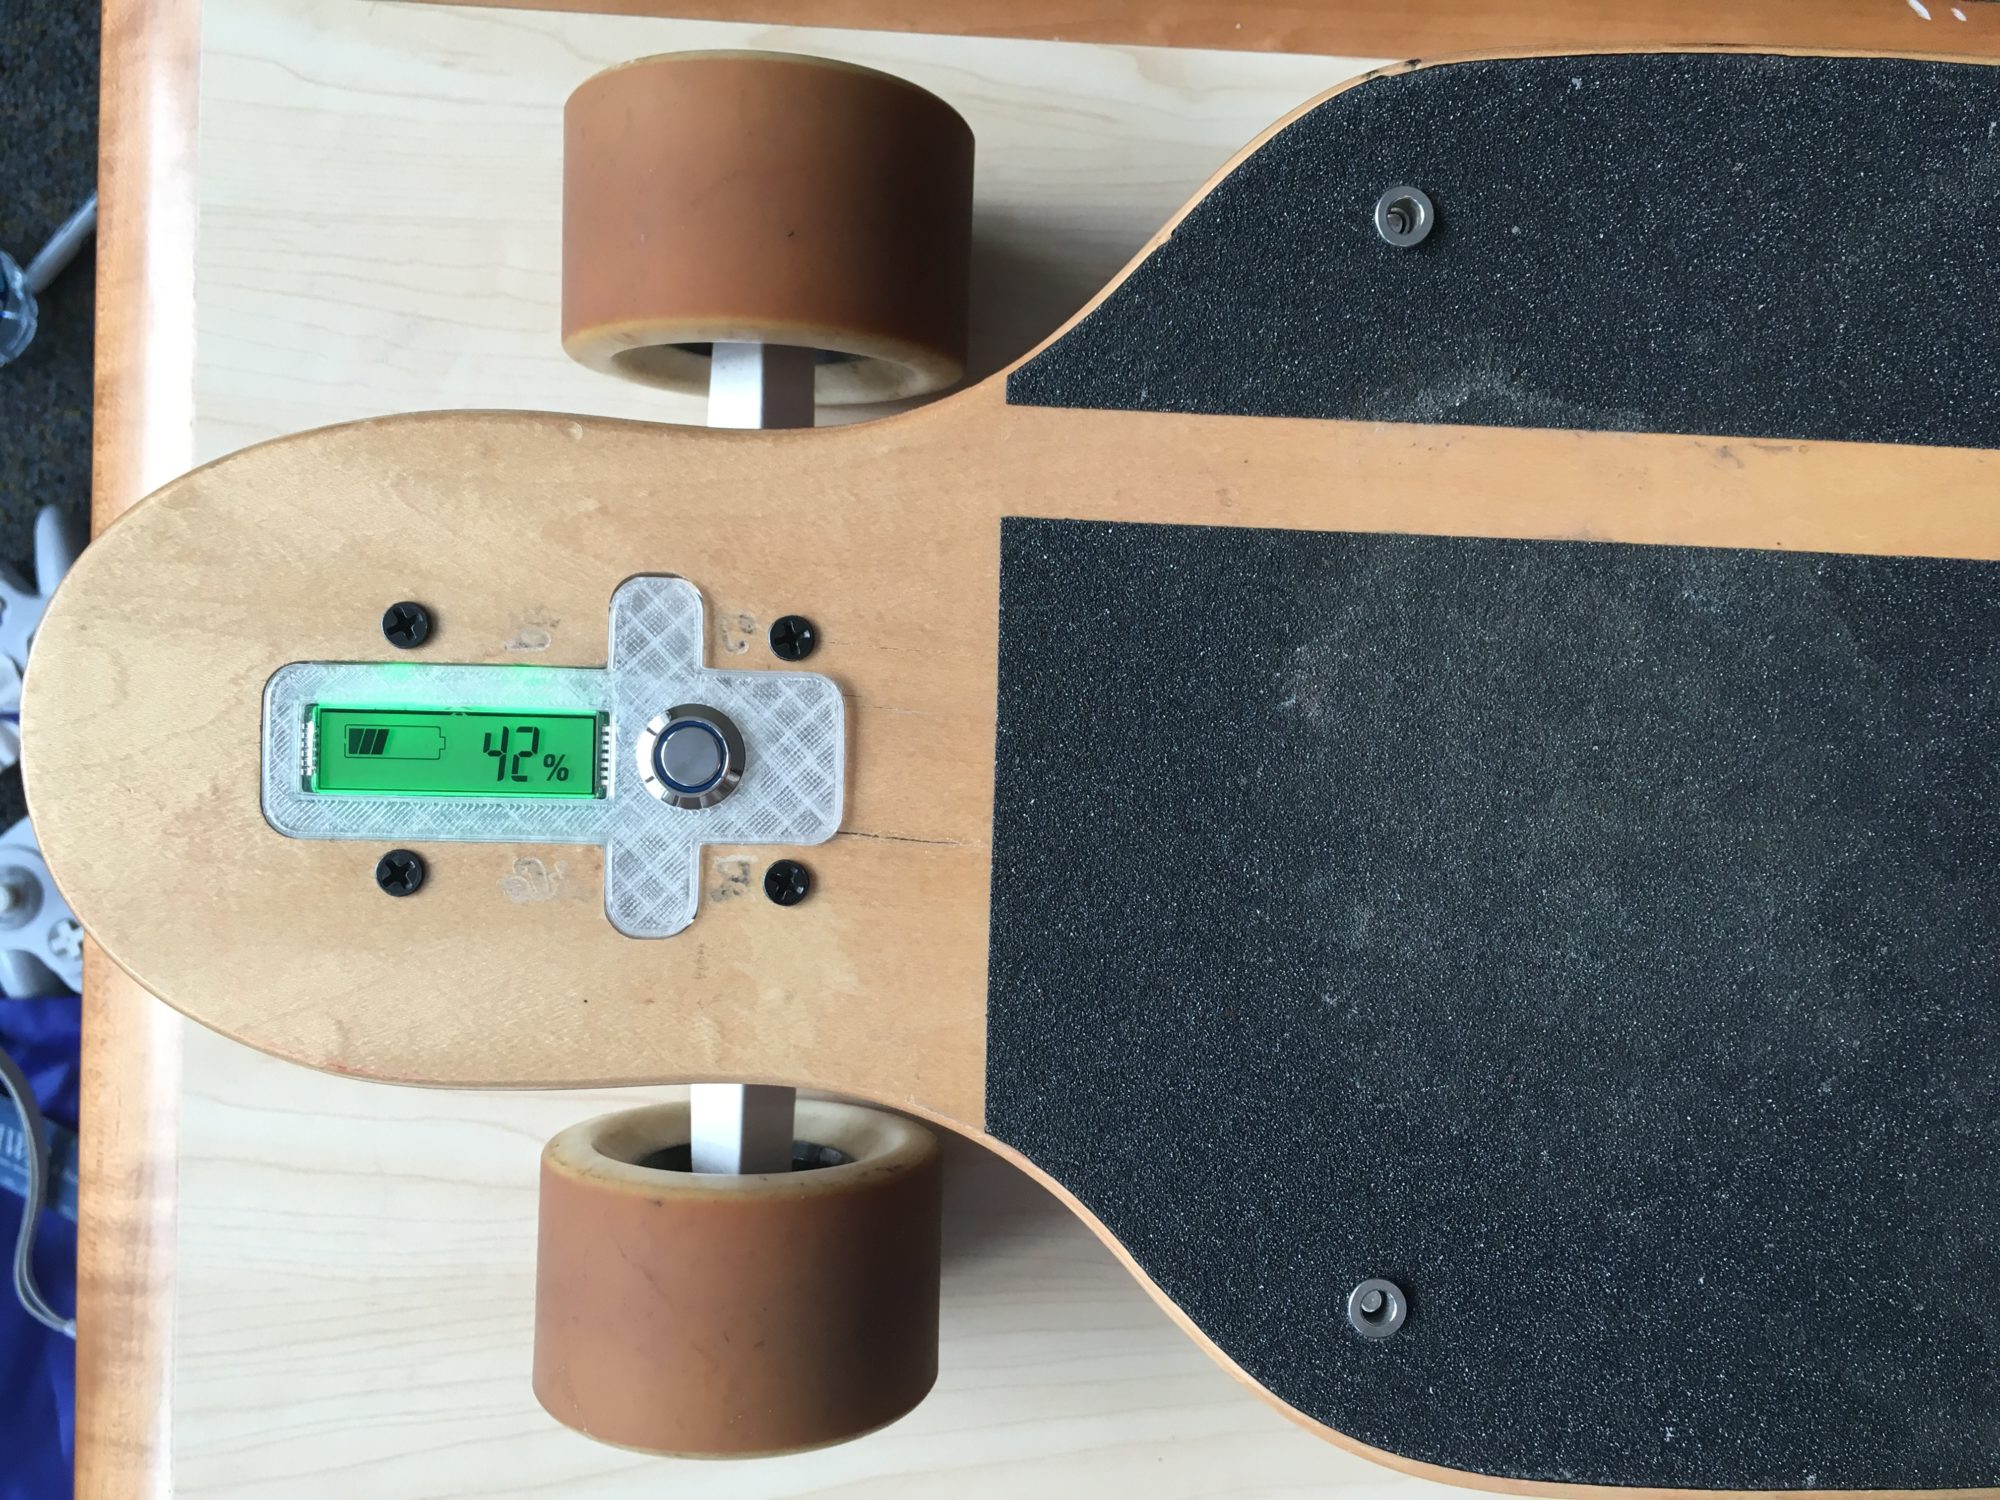
Topside battery indicator. Held in place with a 3D printed housing.
